

Articles
Sewing Magic: How to Use a Sewing Machine with Confidence
Jump to a section
Introduction:
A sewing machine is a versatile and powerful tool that allows you to bring your creative projects to life. If you're new to sewing or looking to enhance your skills, learning how to use a sewing machine is essential. In this step-by-step guide, we'll walk you through the process of using a sewing machine with confidence, from threading the machine to stitching beautiful seams. Get ready to unleash your creativity and master the art of sewing!
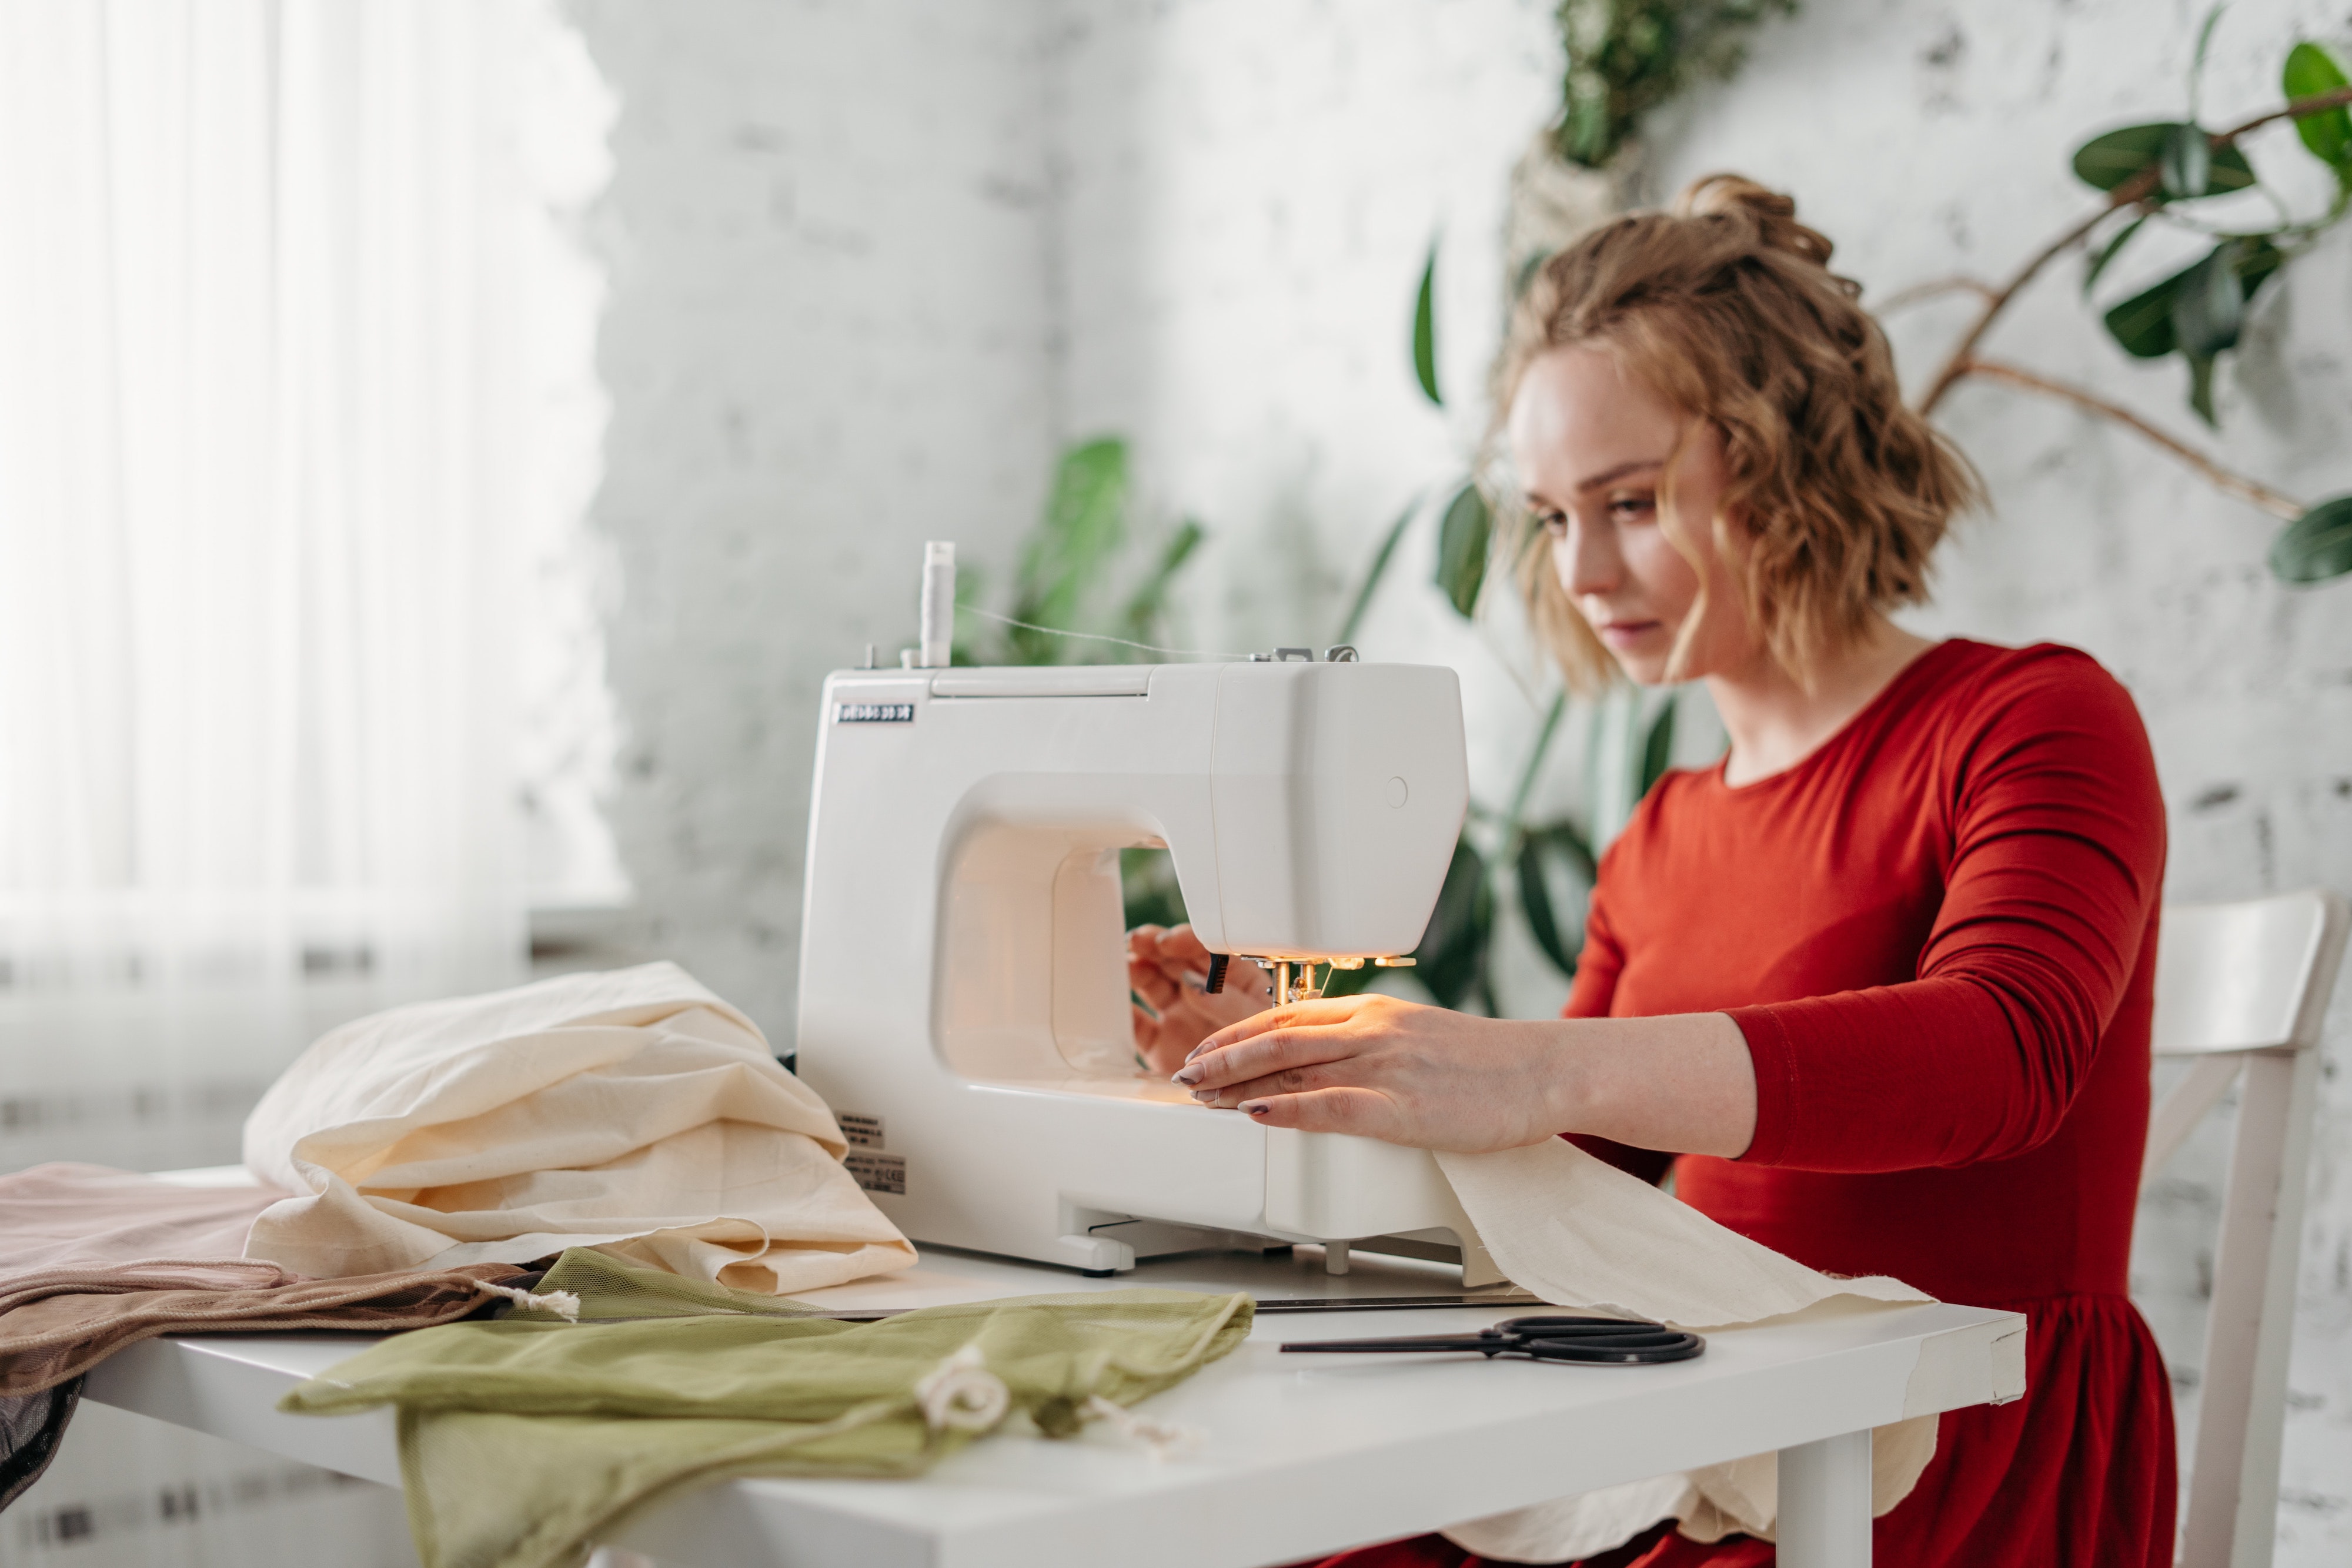
Step 1: Familiarize Yourself with the Sewing Machine
- Read the user manual provided by the sewing machine manufacturer.
- Identify the different parts of the sewing machine, including the needle, presser foot, bobbin, and thread tension dial.
Step 2: Prepare the Sewing Machine
- Place the sewing machine on a sturdy surface, ensuring it is stable and secure.
- Insert a fresh needle appropriate for your fabric type and weight.
- Wind a bobbin with the desired thread color and insert it into the bobbin case following the machine's instructions.
Step 3: Thread the Machine
- Raise the presser foot and lift the needle to its highest position.
- Follow the threading path outlined in the user manual, ensuring the thread passes through all necessary guides and the tension discs.
- Thread the needle from front to back, leaving a tail of thread at least 6 inches long.
Step 4: Prepare the Fabric
- Place your fabric under the presser foot, ensuring it is positioned correctly for your desired seam or stitching.
Step 5: Adjust the Stitch Settings
- Select the desired stitch length and width using the machine's settings.
- Experiment with different settings to achieve the desired effect for your project.
Step 6: Lower the Presser Foot and Begin Sewing
- Lower the presser foot to secure the fabric in place.
- Gradually depress the foot pedal to start sewing, guiding the fabric with your hands.
Step 7: Maintain a Steady Pace and Seam Allowance
- Keep a steady pace as you sew, ensuring the fabric feeds smoothly under the needle.
- Maintain a consistent seam allowance by aligning the fabric edge with the appropriate guide on the machine.
Step 8: Pivot and Turn Corners
- When reaching a corner or changing direction, stop sewing with the needle in the fabric.
- Lift the presser foot, pivot the fabric, lower the presser foot, and resume sewing.
Step 9: Backstitch and Secure Seams
- To reinforce your stitches, backstitch at the beginning and end of each seam.
- Use the machine's reverse stitch function or manually sew a few stitches in the opposite direction.
Step 10: Finish and Inspect Your Work
- Once you've completed your sewing, lift the needle to its highest position and raise the presser foot.
- Trim any loose threads and inspect your work for quality and accuracy.
Conclusion:
Congratulations on mastering the art of using a sewing machine with confidence! We hope this step-by-step guide has provided you with the skills and knowledge to bring your sewing projects to life. But why stop here? Imagine if your entire team had easy access to comprehensive SOPs (Standard Operating Procedures) for all the everyday tasks they encounter. That's where Trainual comes in.
Trainual is a powerful SOP documentation platform designed to streamline your team's operations, enhance productivity, and ensure consistency across your organization. By centralizing your company's knowledge and processes in one accessible location, Trainual empowers your team to work efficiently and effectively.
Take the next step and explore Trainual's features today. Say goodbye to scattered information and hello to a well-documented, easy-to-access resource hub. With Trainual, you can effortlessly create, update, and share SOPs, ensuring everyone is on the same page and tasks are performed seamlessly.
Start simplifying your team's workflows and revolutionize the way you work. Visit Trainual.com to discover how Trainual can transform your organization.
Remember, mastering one skill is just the beginning. With Trainual, you can unlock the full potential of your team by empowering them with standardized procedures and comprehensive knowledge. Embrace the power of SOPs and revolutionize your company's operations with Trainual.
Share it!
Author

More from this author


Become a better business leader in 5 minutes or less.
Join over 100K readers who get The Manual in their inbox each month.
Similar Blog Posts


