

Articles
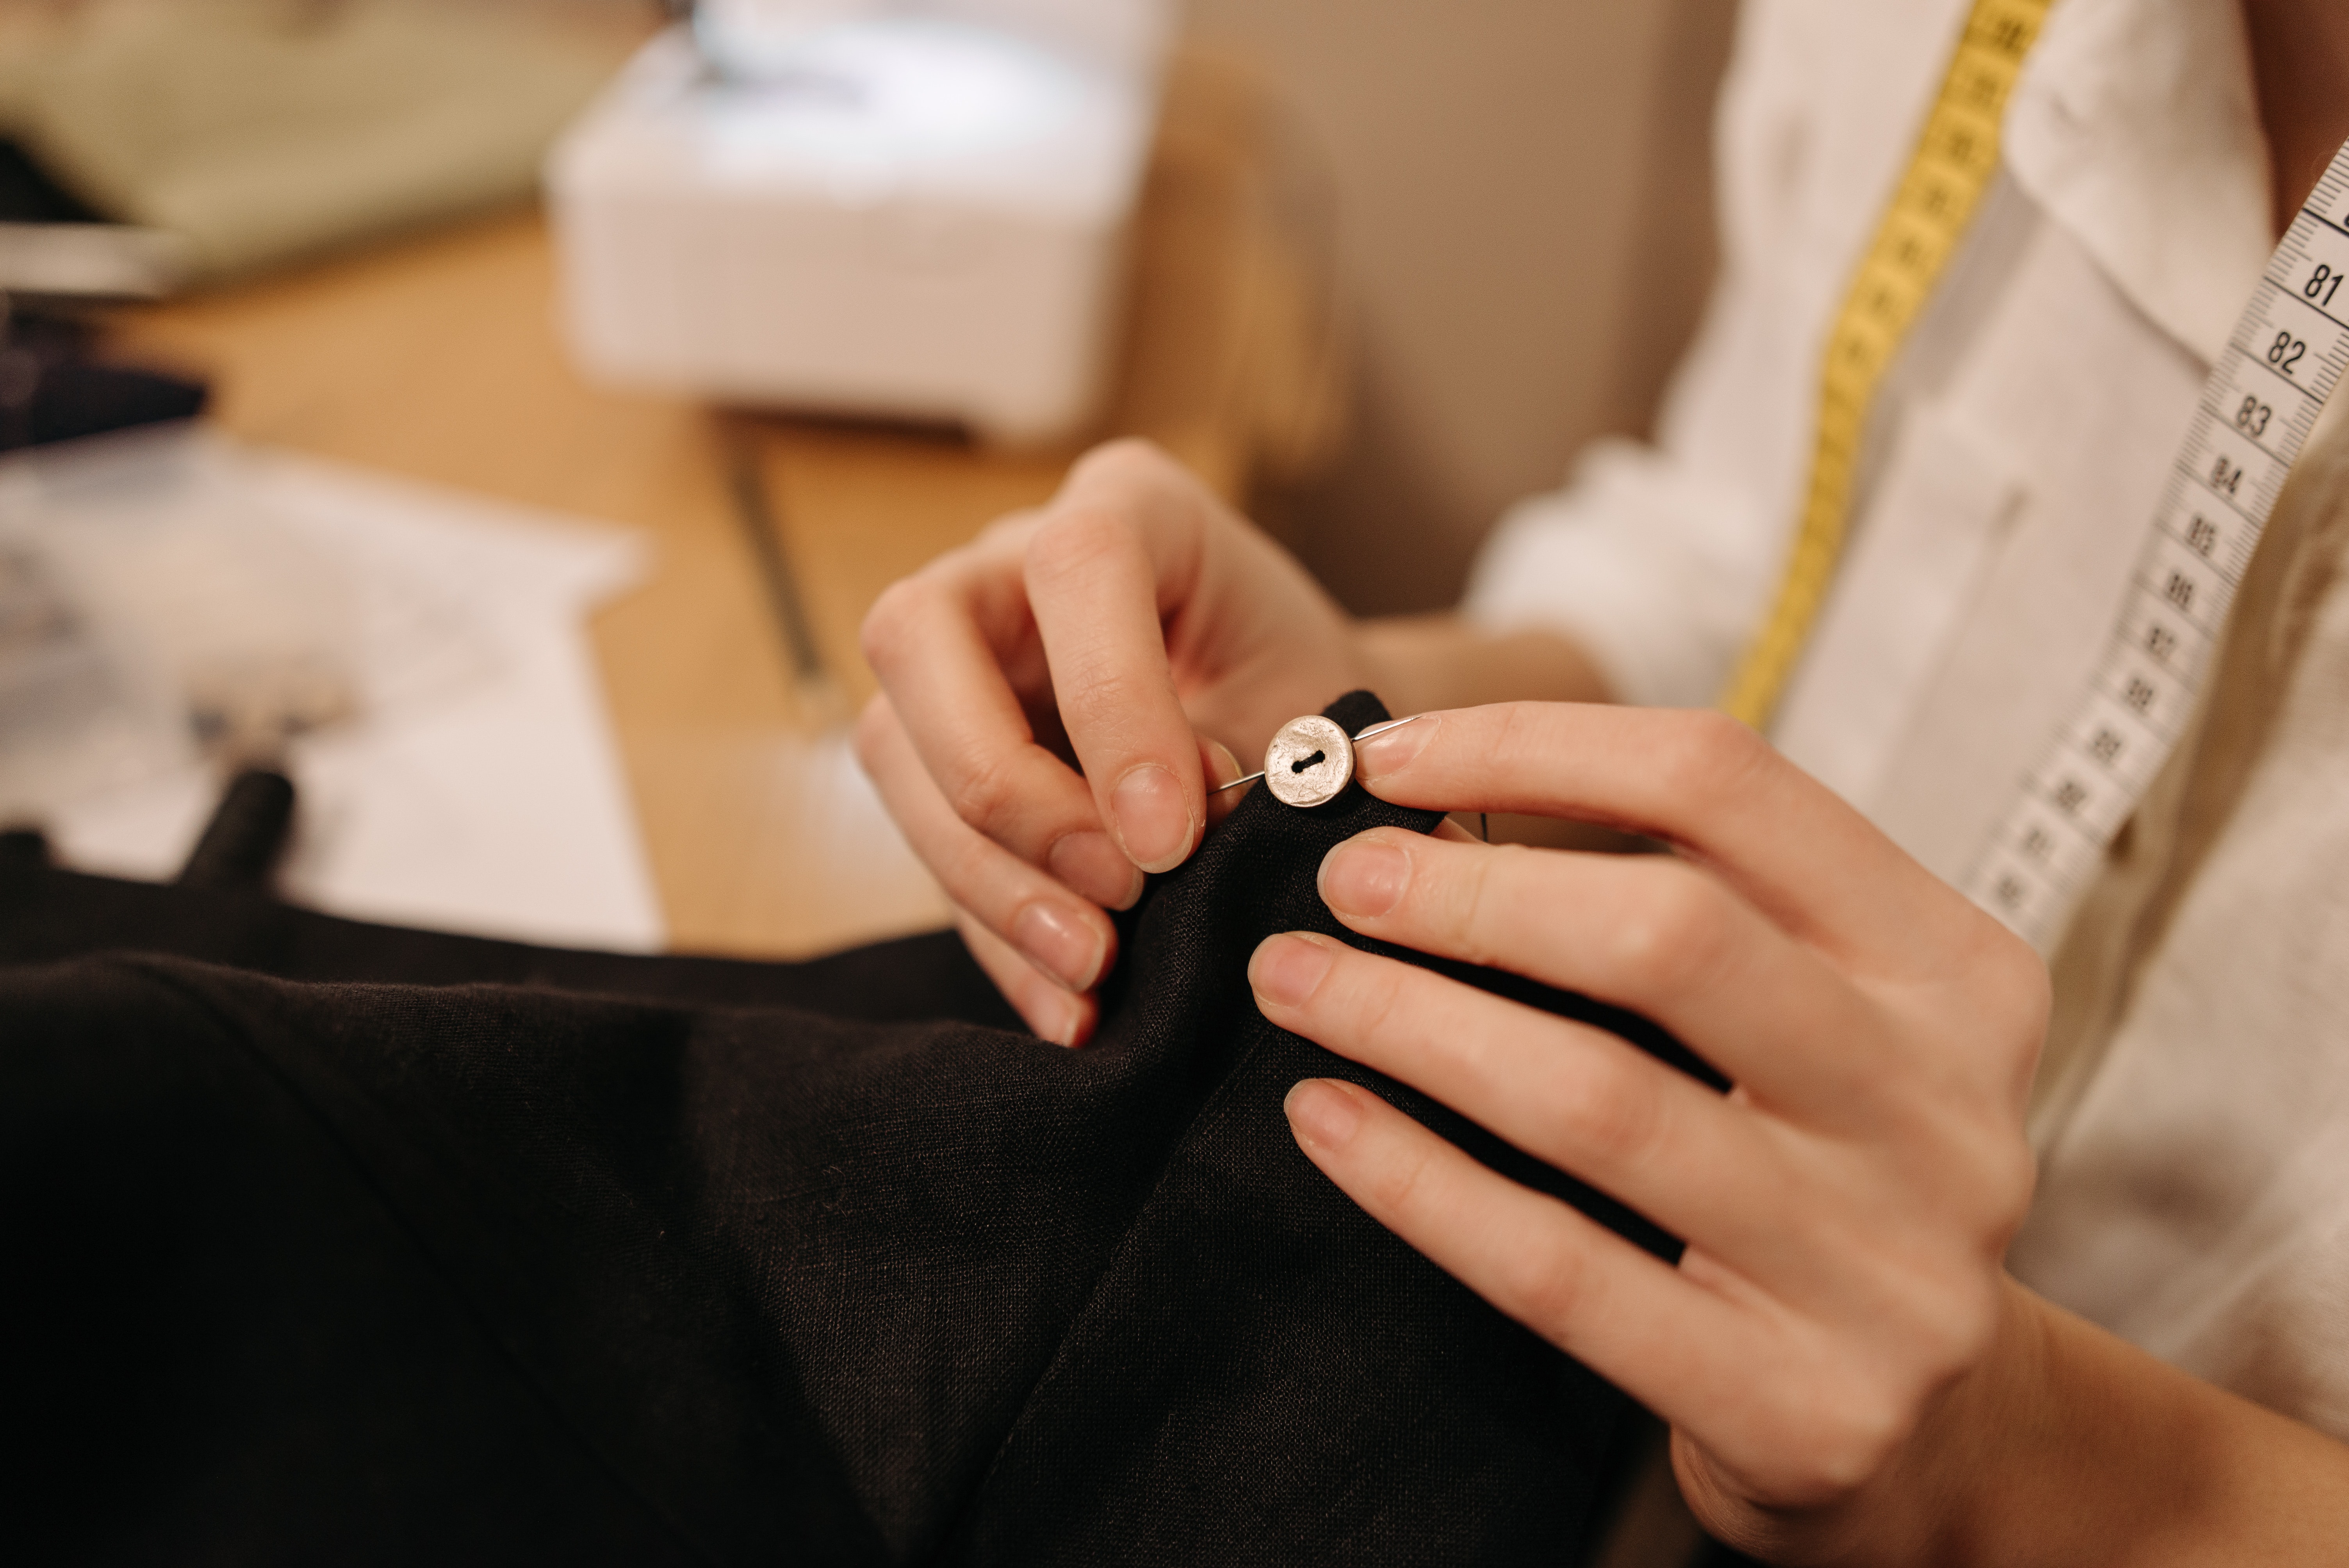
Sewing Essentials: How to Sew a Button Like a Pro
Jump to a section
Introduction:
A missing button on your favorite shirt or garment doesn't have to mean the end of its usefulness. Learning how to sew a button is a valuable skill that allows you to repair and extend the life of your clothing. In this step-by-step guide, we'll walk you through the process of sewing a button like a pro. Get ready to become a button-sewing expert and restore your wardrobe to perfection!
Step 1: Select the Right Thread and Needle
- Choose a thread that matches the color of your button and the garment.
- Select a needle suitable for the weight and thickness of the fabric.
Step 2: Thread the Needle
- Cut a length of thread, typically about 12 inches, and thread it through the eye of the needle.
- Double the thread and tie a knot at the end, creating a double thread.
Step 3: Position the Button
- Determine the appropriate position for the button on the garment.
- Use chalk or a fabric pen to mark the button's placement if needed.
Step 4: Anchor the Thread
- Start by bringing the needle up from the backside of the fabric, near the button's position.
- Leave a small tail of thread on the backside to anchor it.
Step 5: Sew Through the Button
- Place the button on top of the fabric, aligning it with the marked position.
- Insert the needle through one of the buttonholes, starting from the front side and pulling it all the way through.
Step 6: Create Anchoring Stitches
- Insert the needle back into the fabric through another buttonhole, diagonally across from the first entry point.
- Repeat this process a few times, creating a sturdy anchor by sewing through the fabric and buttonholes.
Step 7: Sewing the Button
- Once the anchor is secure, continue sewing the button by passing the needle back and forth through the button's holes.
- Make sure to go through all the buttonholes several times to ensure a secure attachment.
Step 8: Create a Shank (Optional)
- For buttons with a raised design or when additional space is needed between the button and fabric, create a shank.
- To create a shank, place a toothpick or another small object on top of the fabric before sewing the button. Sew around it, creating a loop of thread underneath the button.
Step 9: Secure the Thread
- After sewing the button to your satisfaction, create a few anchoring stitches on the backside of the fabric.
- Knot the thread by wrapping it around the stitches and pulling it tight.
Step 10: Trim Excess Thread and Test
- Trim any excess thread, leaving a small tail for added security.
- Test the button by fastening and unfastening it to ensure it holds securely.
Conclusion:
Congratulations on mastering the art of sewing a button like a pro! We hope this step-by-step guide has provided you with the skills and confidence to repair and restore your garments. But why stop here? Imagine if your entire team had easy access to comprehensive SOPs (Standard Operating Procedures) for all the everyday tasks they encounter. That's where Trainual comes in.
Trainual is a powerful SOP documentation platform designed to streamline your team's operations, enhance productivity, and ensure consistency across your organization. By centralizing your company's knowledge and processes in one accessible location, Trainual empowers your team to work efficiently and effectively.
Take the next step and explore Trainual's features today. Say goodbye to scattered information and hello to a well-documented, easy-to-access resource hub. With Trainual, you can effortlessly create, update, and share SOPs, ensuring everyone is on the same page and tasks are performed seamlessly.
Start simplifying your team's workflows and revolutionize the way you work. Visit Trainual.com to discover how Trainual can transform your organization.
Remember, mastering one skill is just the beginning. With Trainual, you can unlock the full potential of your team by empowering them with standardized procedures and comprehensive knowledge. Embrace the power of SOPs and revolutionize your company's operations with Trainual.
Share it!
Author

More from this author


Become a better business leader in 5 minutes or less.
Join over 100K readers who get The Manual in their inbox each month.
Similar Blog Posts


