

Intro to Google Gmail Template
This Subject introduces new employees to our company's main email service Gmail, provided by Google.
Jump to a section
Introduction
Why We Use Gmail
Gmail, a widely recognized and user-friendly email service provided by Google, offers a host of features that streamline communication and enhance productivity.
Our company uses Gmail as our primary tool for email correspondence, and we’ve chosen it for several key reasons. Firstly, its intuitive interface and seamless integration with various Google Workspace tools, such as Google Calendar and Drive, allow for efficient coordination and collaboration. This ecosystem of tools enables us to share documents, schedule meetings, and manage projects all in one interconnected platform.
Moreover, Gmail is known for its robust security features, ensuring that our internal and external communications are protected. This includes powerful spam filtering and data encryption, which are crucial for maintaining the confidentiality of our business communications.
Additionally, Gmail's accessibility and cloud-based system mean that you can securely access your email from any device, anywhere, fostering a flexible and mobile working environment. This is particularly beneficial in supporting our diverse and dynamic workforce.
In short, Gmail's comprehensive features, security, and ease of use make it an ideal solution for our email needs, supporting our daily operations and helping us stay connected and productive.
Using Gmail
Getting Started
Logging into Gmail
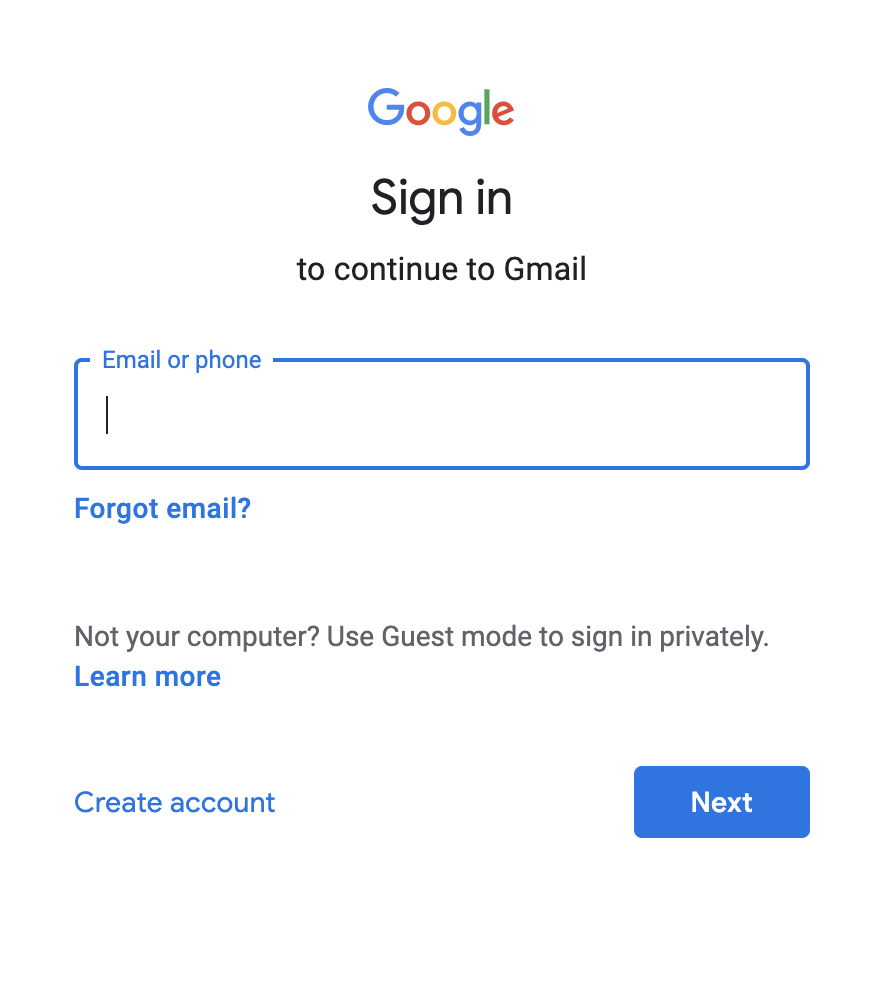
Navigate to www.gmail.com and click the Sign in link at the top right of the page.
Log in using the credentials provided to you during onboarding.
Changing your password
Once you’re logged in, you’ll need to change your password.
- Access your Google Account (the button in the top right corner with your headshot). Click “Manage your Google Account.”
- In the navigation menu on the left-hand side, access Security. Under “How you sign in to Google”, choose Password.
- Enter your new password, and click Change Password.
Enabling two-factor authentication
After you’ve changed your password, enable 2-Step Verification (you’ll need your phone for this). You can access this on the same Security page under “How you sign in to Google.” Follow the on-screen instructions.
Basic Navigation
If you’re coming from Outlook or another email management software, you may be unfamiliar with Gmail! If so, check out this handy video tutorial:
Training Resources
Help Docs
Gmail Help Center
Guides
Getting Started with Gmail
Other Resources
Gmail Training & Help
Email Management
Achieving “Inbox Zero”
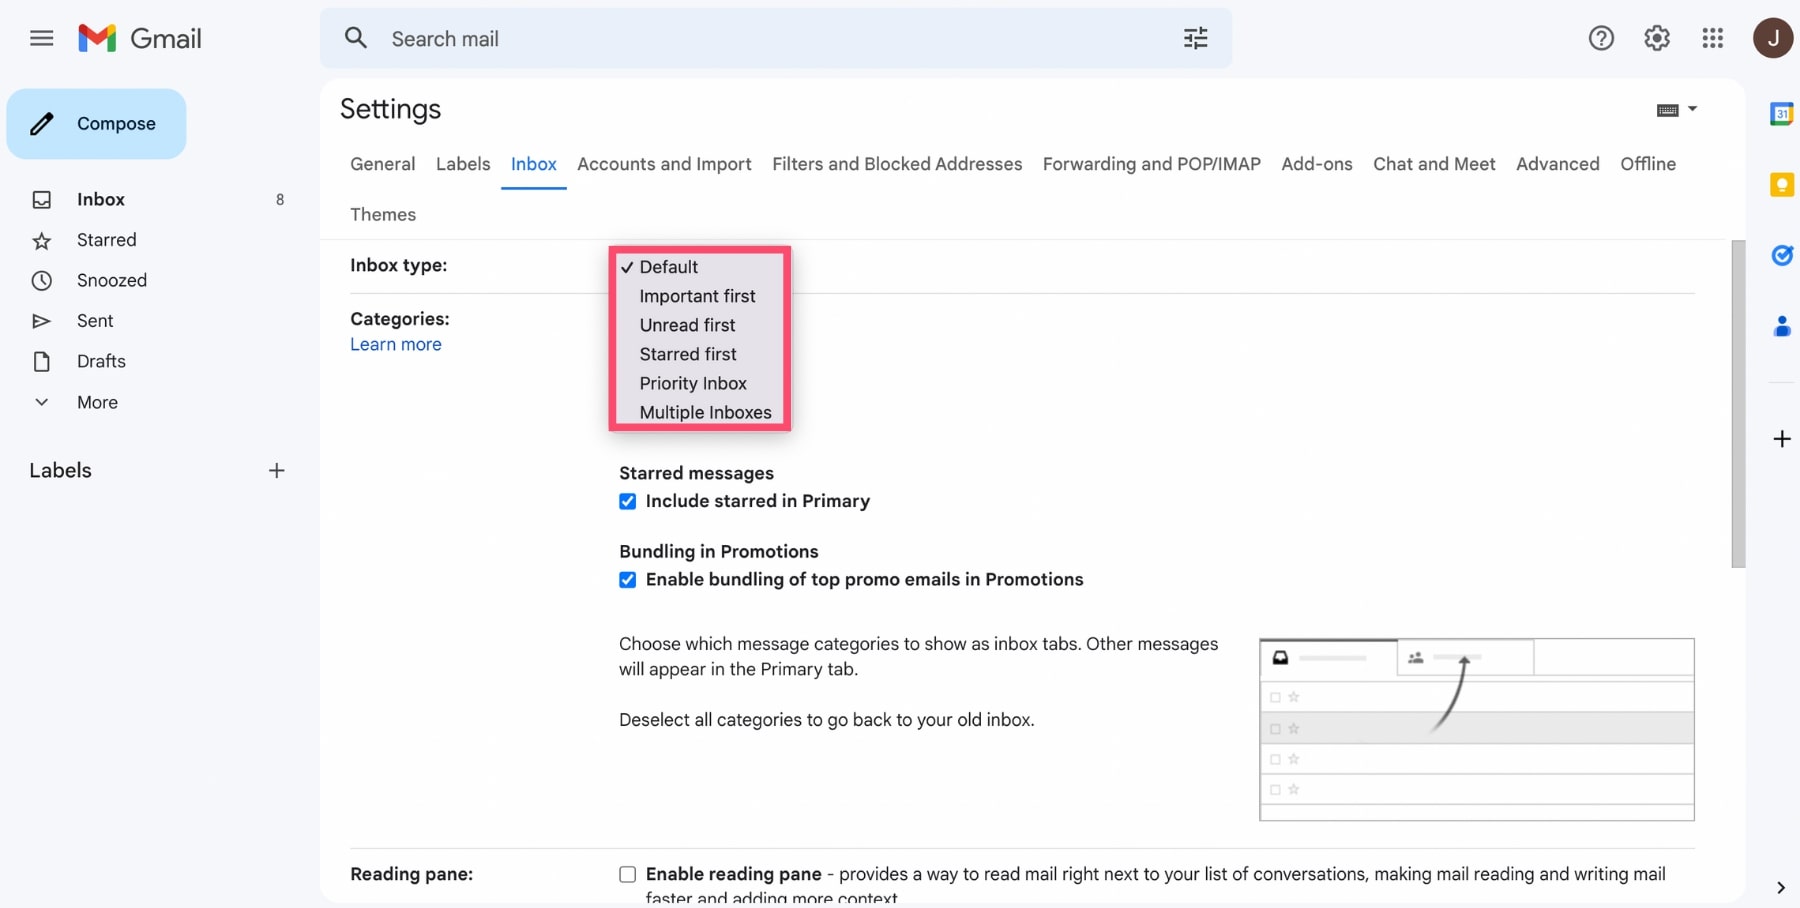
Setting Up Your Inbox
Unread First
The "Unread First" option in Gmail is a practical feature that organizes your inbox by displaying all unread emails at the top. This ensures that new and potentially important messages are immediately visible and accessible, reducing the likelihood of overlooking critical communications.
We recommend using this option as it enhances efficiency and prioritization in email management. It helps our team members stay on top of incoming messages, ensuring timely responses and keeping our workflow smooth and uninterrupted. This simple yet effective organizational tool is instrumental in maintaining an orderly and productive email experience.
To change your default view, go to Settings > Inbox, and then change to "Unread First."
Conversation View
If you're coming from Outlook, you may not like how Google "threads" messages to keep them all together. You can change this in your settings, but we recommend "Conversation View" as the default.
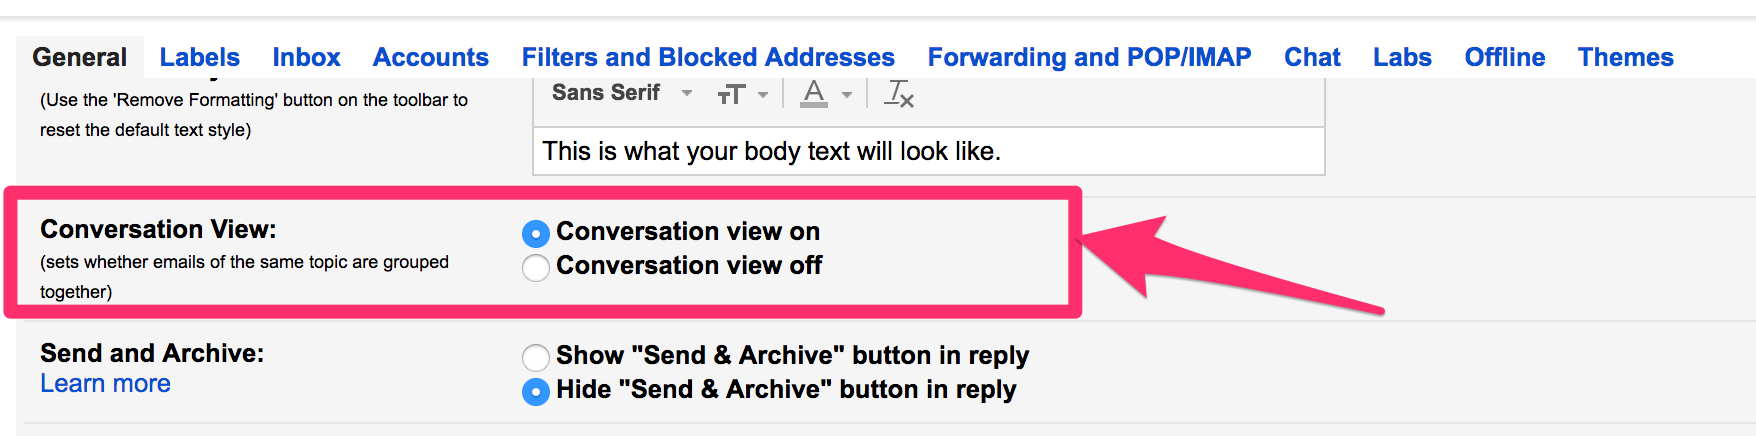
This keeps all messages nested together in one thread, so that you can read the entire conversation without having to jump back to your inbox to see each individual reply.
Undo Send
Everyone makes mistakes — and no one likes the feeling of seeing an email or message go out, only to immediately see an error. Either you forgot an attachment, sent it to the wrong person, forgot to answer a particular question, etc.
For those reasons, the "Undo Send" option is a lifesaver. In your General Settings, turn this feature on with a 10 second buffer.
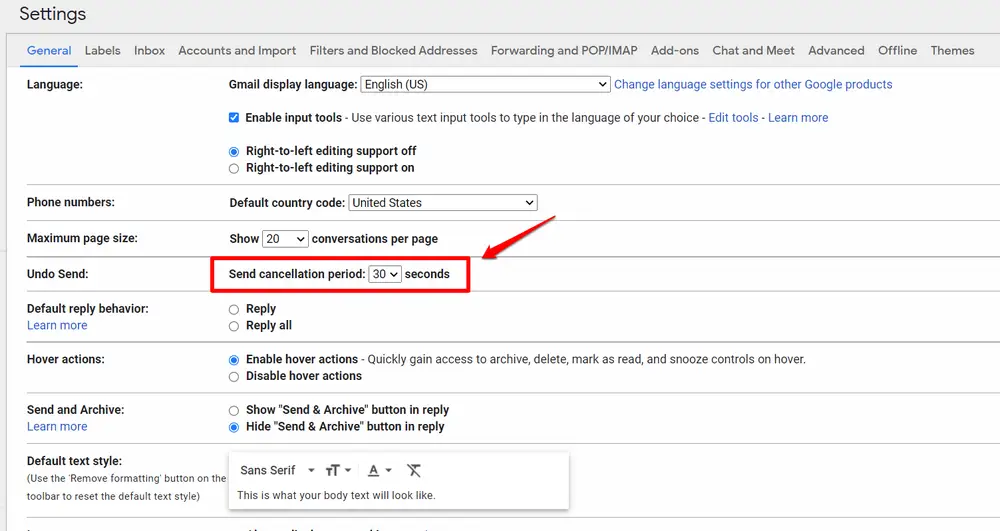
This means that your message will not send for 10 seconds after you hit the Send button, giving you a chance to catch mistakes at the last second.
However, please note that if you navigate off of the page or reload the page after hitting the Send button, the message will not be delayed and will send automatically.
Keyboard Shortcuts
Having access to keyboard shortcuts in Gmail is a game changer. You can turn them on in your General Settings.
They may only save you fractions of a second, but think of how many emails you send and how much time shortcuts could save you over a year!
Find a complete list of Gmail’s keyboard shortcuts here.
Create Your Email Signature
Creating a personalized email signature in Gmail is a straightforward process. Here's how you can set it up with your name, role, and email, with your name in the company's brand color:
1. Open Gmail Settings:
- In your Gmail account, click on the gear icon in the upper right corner to access 'Settings.'
2. Access Signature Settings:
- In the 'Settings' menu, go to the 'See all settings' option.
- Navigate to the 'General' tab, and scroll down to the 'Signature' section.
3. Create a New Signature:
- Click on 'Create new' and give your signature a name for easy identification.
4. Add Signature Details:
- In the signature text box, enter your full name, role, and email address (in that order).
5. Customize Your Name with Brand Color:
- Highlight your name.
- Use the text color tool in the formatting bar (looks like a 'T' with a color palette) to change your name to the company's brand color. Select the appropriate color from the options or enter the specific color code if you have it.
6. Set Signature Defaults:
- Choose if you want your signature to appear in new emails and on replies/forwards.
7. Save Changes:
- Scroll to the bottom of the 'Settings' page and click 'Save Changes.'
Now, your personalized email signature, with your name highlighted in the company's brand color, will automatically appear in your Gmail correspondences, providing a professional and branded touch to your emails.
Similar Templates


